Using the Chat Interface
The main chat interface is where you’ll spend most of your time interacting with AI models. Here’s a breakdown of the key components you see on the screen:
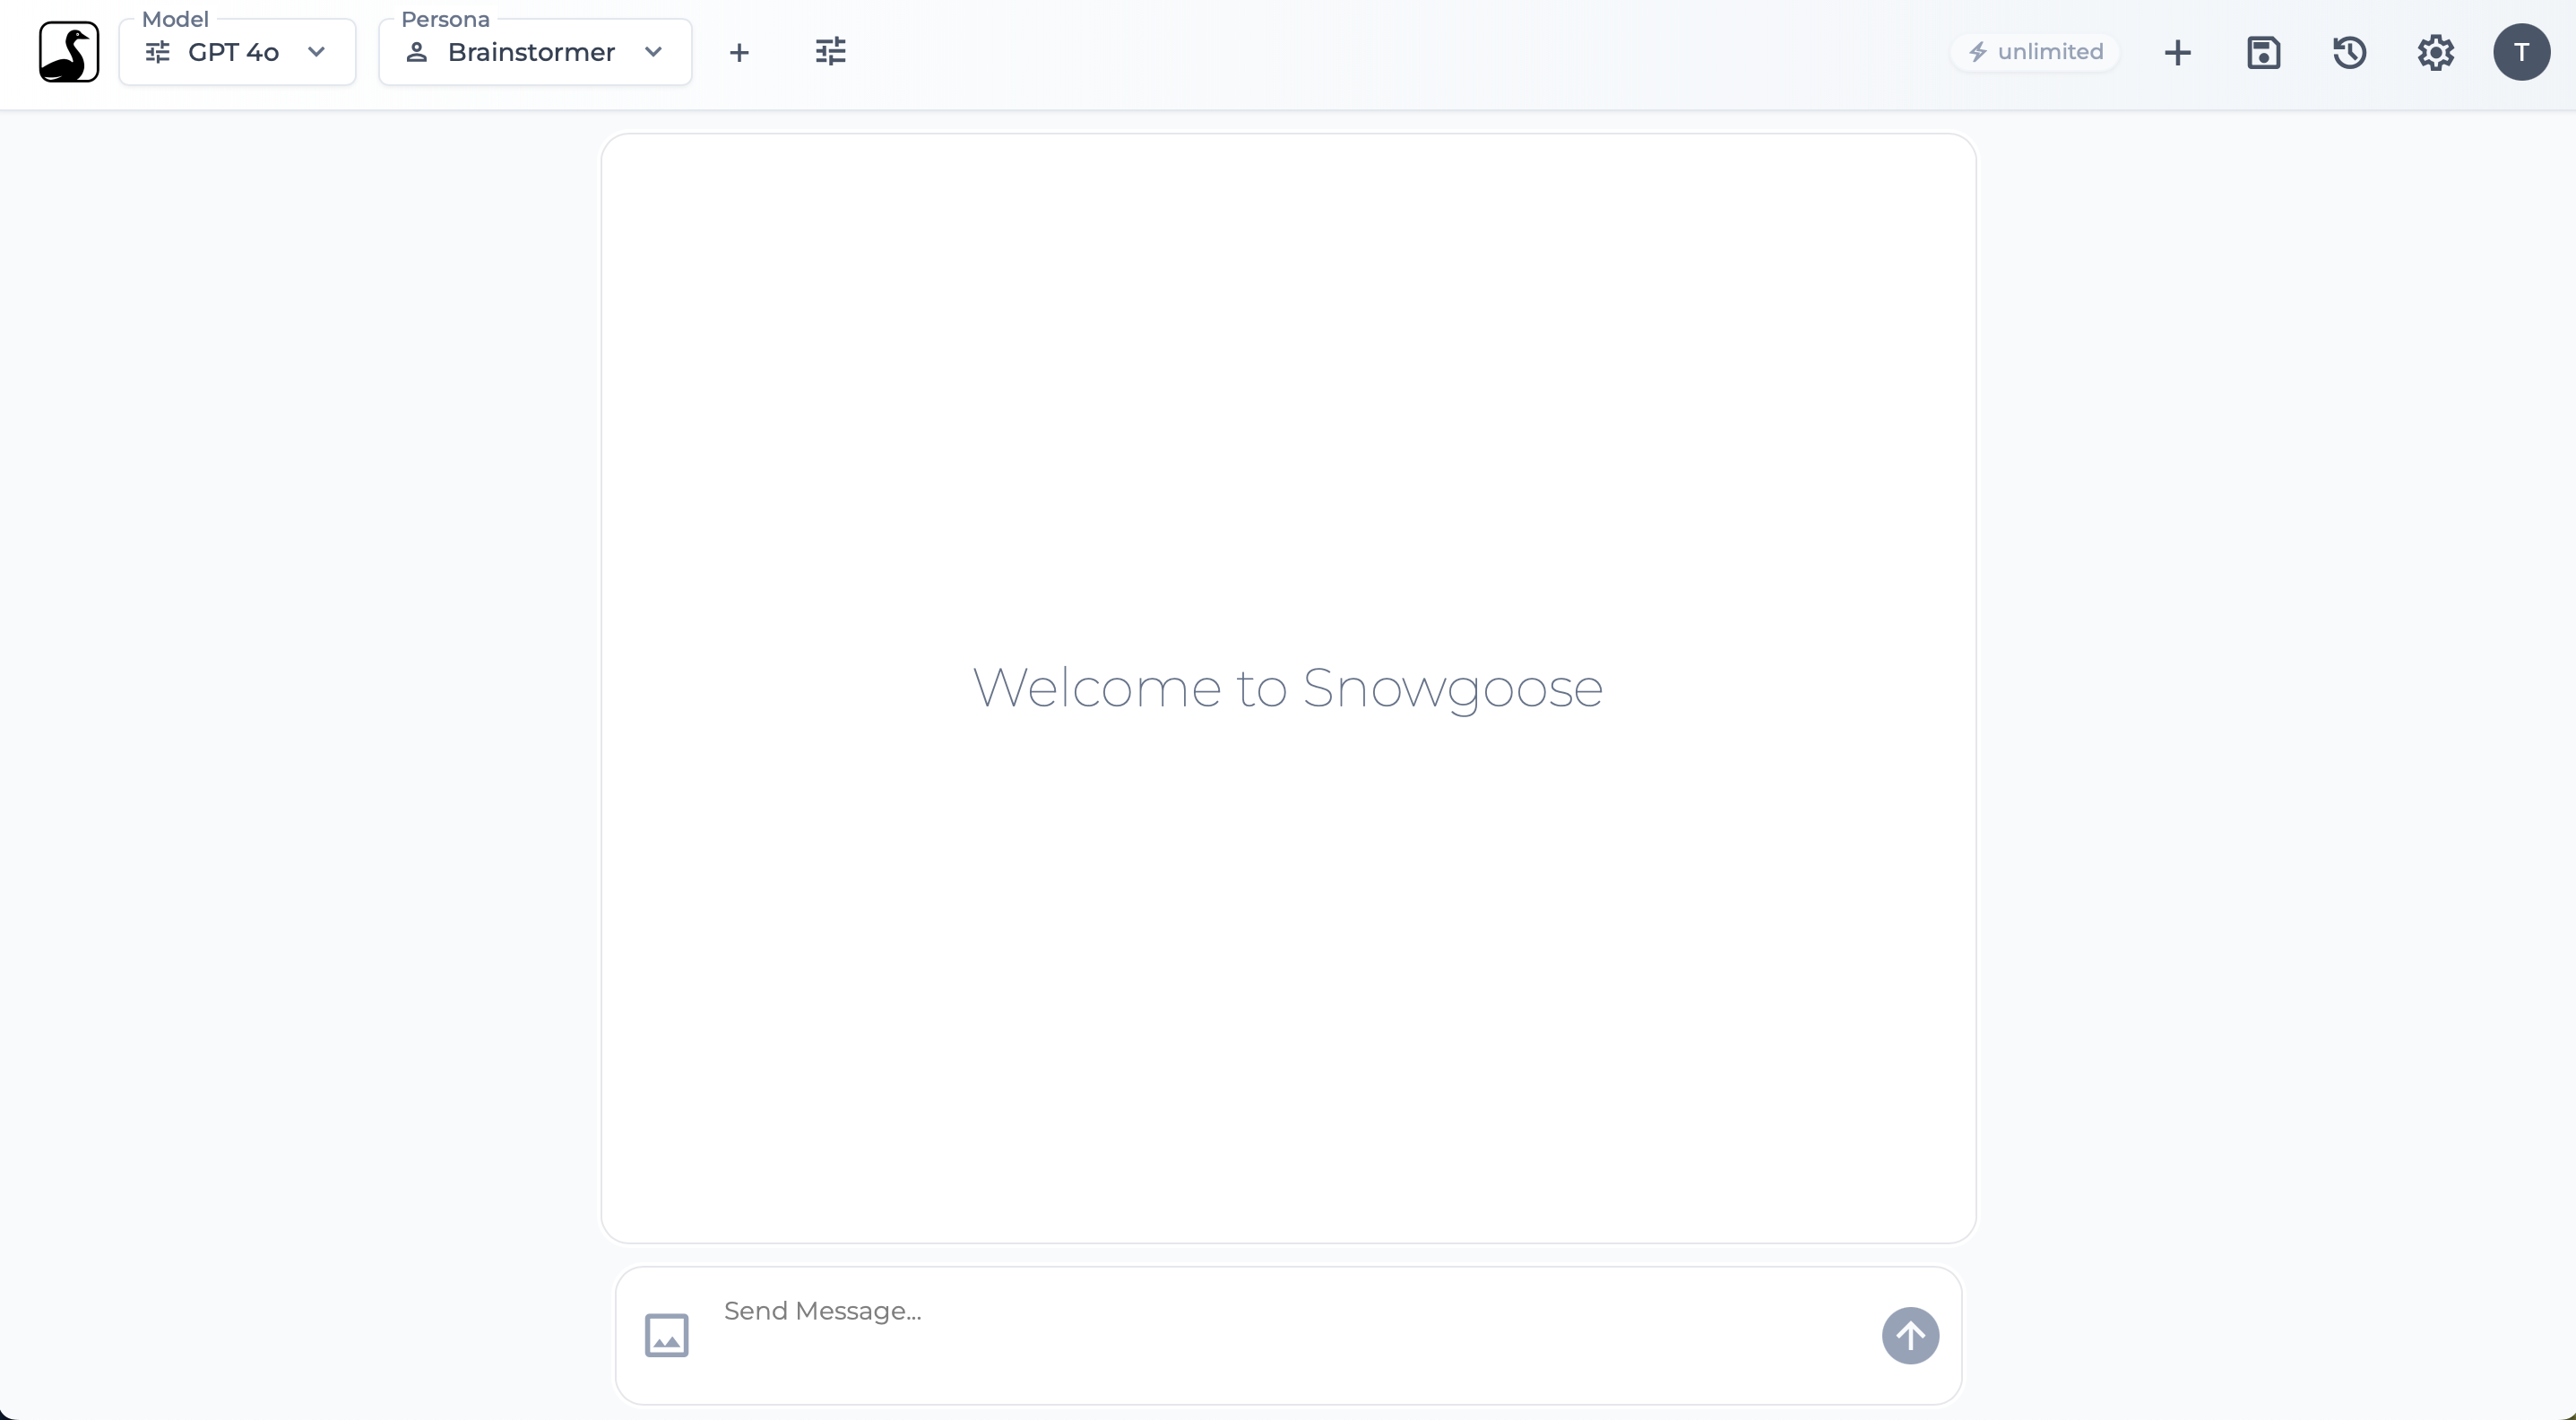
- Model Selector: Choose the AI model you want to interact with (e.g., GPT-4o, Claude 3.7). Different models have different strengths and capabilities. See Selecting Models.
- Persona Selector: Select a Persona to define the AI’s role, tone, or task focus (e.g., Coder, Editor). See Using Personas.
- More Options Button (
tuneicon): Access advanced settings like Output Formats, Thinking Level, and MCP Tools. - Credits Display (
bolticon): Shows your remaining usage credits for the current billing period (if applicable). See Usage Credits. - Utility Icons:
+(Add): Start a New Chat.save: Save Conversation to your history.history: Open the History Panel to view saved conversations.settings: Go to the main Settings area.- User Initial: Go directly to your Profile Settings.
- Conversation Area: Displays the back-and-forth messages between you and the AI. Thinking steps or generated images may also appear here.
- Input Area: Type your message (prompt) to the AI here.
- Image Upload Button (
imageicon): Appears if the selected model supports image input. Click to upload an image. See Image Input. - Send Button (
arrow_upwardicon): Send your message and any uploaded image to the AI.
Explore the sub-pages in this section to learn more about using each feature effectively.